Sewer Camera Inspection Unveiled
Key Takeaways from Your Sewer Camera Inspection
This comprehensive guide, authored by Fred Rodrigues, a Certified Master Inspector with thousands of Lateral Sewer Line Scope Inspections in Florida, demystifies the sewer camera inspection process. It covers everything from the technology used and how plumbers perform inspections, to what homeowners should expect during each step. You’ll learn about common issues detected, the limitations of camera inspections, typical durations, and cost factors. Finally, the guide provides essential advice on interpreting inspection reports and navigating subsequent repair and maintenance options, empowering you to make informed decisions about your plumbing system.
A sewer camera inspection is a minimally invasive diagnostic service using a waterproof camera on a flexible push rod to visually evaluate drain and sewer pipes. It identifies blockages, damage, and precise locations for targeted repairs, providing real-time footage and a recorded report without unnecessary digging. This guide covers what homeowners should expect during the process, how technicians operate equipment, common problems detected, and how to interpret findings for repair decisions. You’ll learn about inspection stages, technology, limitations, durations, costs, and follow-up options like hydro-jetting or trenchless repair. Understand how a CCTV sewer inspection works, what it detects, and how to confidently move from diagnosis to repair.
What Is a Sewer Camera Inspection and How Does It Work?
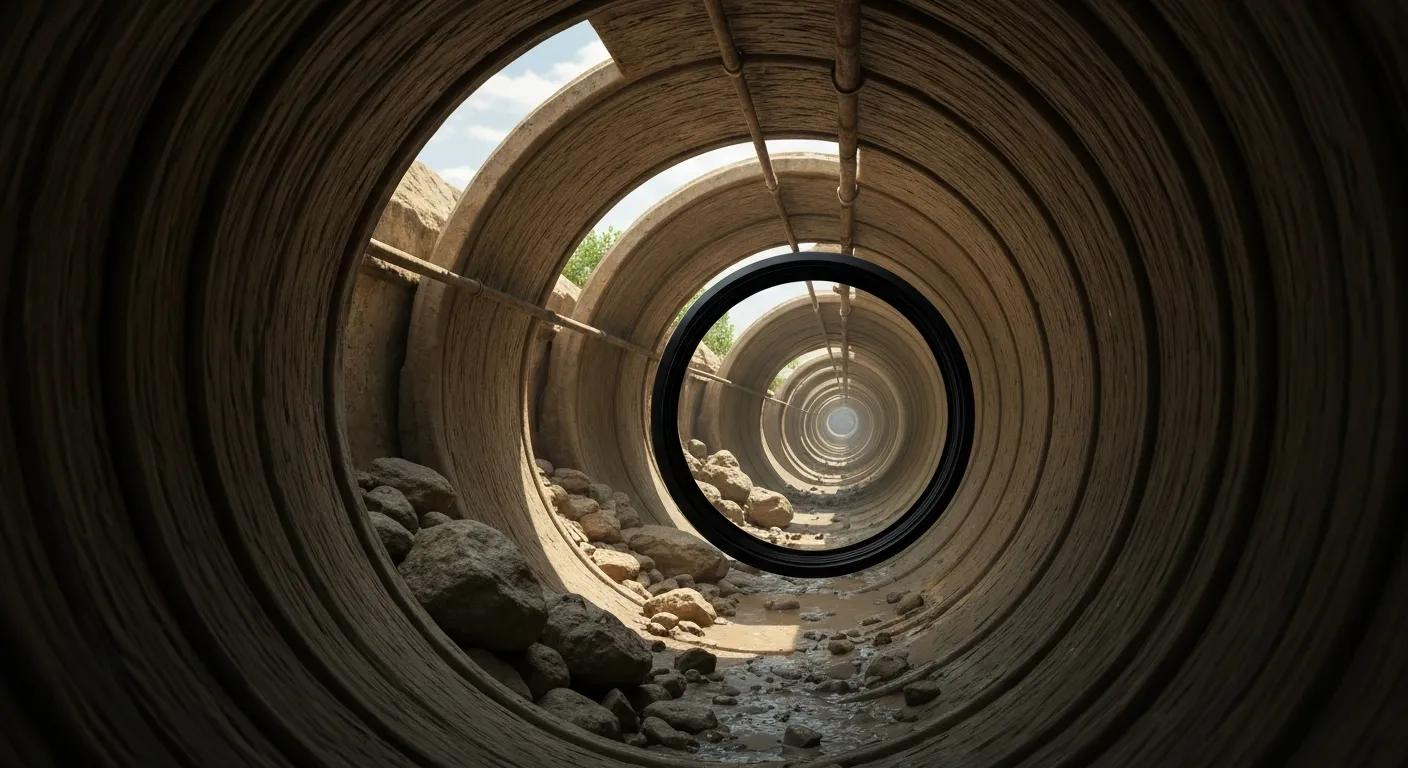
A sewer camera inspection is a plumbing diagnostic procedure that sends a high-resolution, waterproof camera into a sewer line. It produces live and recorded video footage, allowing technicians to locate blockages, cracks, roots, and offsets without excavation. A flexible push rod advances the camera, while integrated lighting illuminates the pipe. A sonde transmits a location signal, enabling technicians to measure the distance to defects. The resulting inspection report includes time-stamped video, still images, and distance markers, helping homeowners understand the problem and repair urgency. This process identifies drainage issues and creates a baseline for prioritizing repairs and maintenance.
What Technology Is Used in Sewer Camera Inspections?
Modern sewer inspection camera systems feature a waterproof camera head with LED lighting, a flexible push rod, a recording monitor, and a sonde locator. The camera head often includes a skid for stability and may rotate for wider views, aiding in identifying cracks, bellies, and roots. Push rods vary in stiffness and size for different line lengths. Recording systems create time-stamped video and annotated stills for reports. Location sondes emit a radio frequency, allowing a handheld locator to triangulate the defect’s depth and distance. This equipment links visual evidence to physical location, facilitating repair planning.
How Do Plumbers Perform a Sewer Camera Inspection?
Plumbers access the sewer line via a cleanout, toilet flange, or exterior access point, choosing the safest, most direct route. After preparation, the technician feeds the camera-equipped push rod into the pipe, monitoring live footage for issues and capturing video/stills at critical points. For mapping, distance marks are recorded, and a sonde locator is used above ground to pinpoint problem areas. If blockages are encountered, a preliminary cleaning may be recommended before re-inspection. Throughout the process, clear communication helps homeowners understand findings and next steps.
What Are the Step-by-Step Stages of a Sewer Camera Inspection?
A sewer camera inspection follows a structured process from scheduling to report delivery, ensuring accurate diagnosis and documentation for repairs. Stages include pre-inspection prep, camera insertion and navigation with live footage capture, on-the-spot analysis and mapping, and final report compilation. Each step gathers objective evidence—video, stills, and distance readings—to help homeowners compare repair options. This systematic approach reduces guesswork, allowing technicians to tailor follow-up services like hydro-jetting or trenchless lining based on visual evidence. Practical details below help you prepare and know what to expect.
How Should You Prepare for a Sewer Camera Inspection?
Prepare for an inspection by ensuring clear access to cleanouts and removing obstacles from basements or yards. Be ready to run water if requested to reveal intermittent blockages. Locate the main cleanout cover and clear a 3–6 foot working area for equipment. Keep pets and children away from the work zone. Technicians might need to remove a toilet for flange access if no cleanout is available, so a clear space helps. Communicate any known plumbing history, like prior repairs or persistent gurgling, to help the technician target the inspection effectively.
What Happens During Camera Insertion and Real-Time Video Analysis?
During insertion, the technician slowly advances the camera, observing the live monitor and describing findings. They capture still images and time-stamped video clips of defects, blockages, or unusual conditions. Real-time analysis helps identify visual signatures—like fibrous masses for roots or shiny buildups for grease—to differentiate causes and mark locations. If obstructions prevent passage, the technician documents the last reachable point and may recommend cleaning followed by re-inspection. Live review also allows homeowners to ask questions, aligning footage with repair urgency decisions.
How Are Problem Areas Located and Documented?
Problem areas are documented by recording camera footage with distance markers and using a sonde locator above ground to pinpoint the defect’s position relative to property features. This creates a simple map or precise measurements. Still images and video clips are annotated with timestamps and distance-to-defect readings, linking visual evidence to a physical location—crucial for quoting trenchless or excavation repairs. For longer lines, operators note landmarks to aid contractor planning. This combination of visual proof and mapped coordinates improves cost estimates and repair logistics, reducing surprises.
What Does the Final Inspection Report Include?
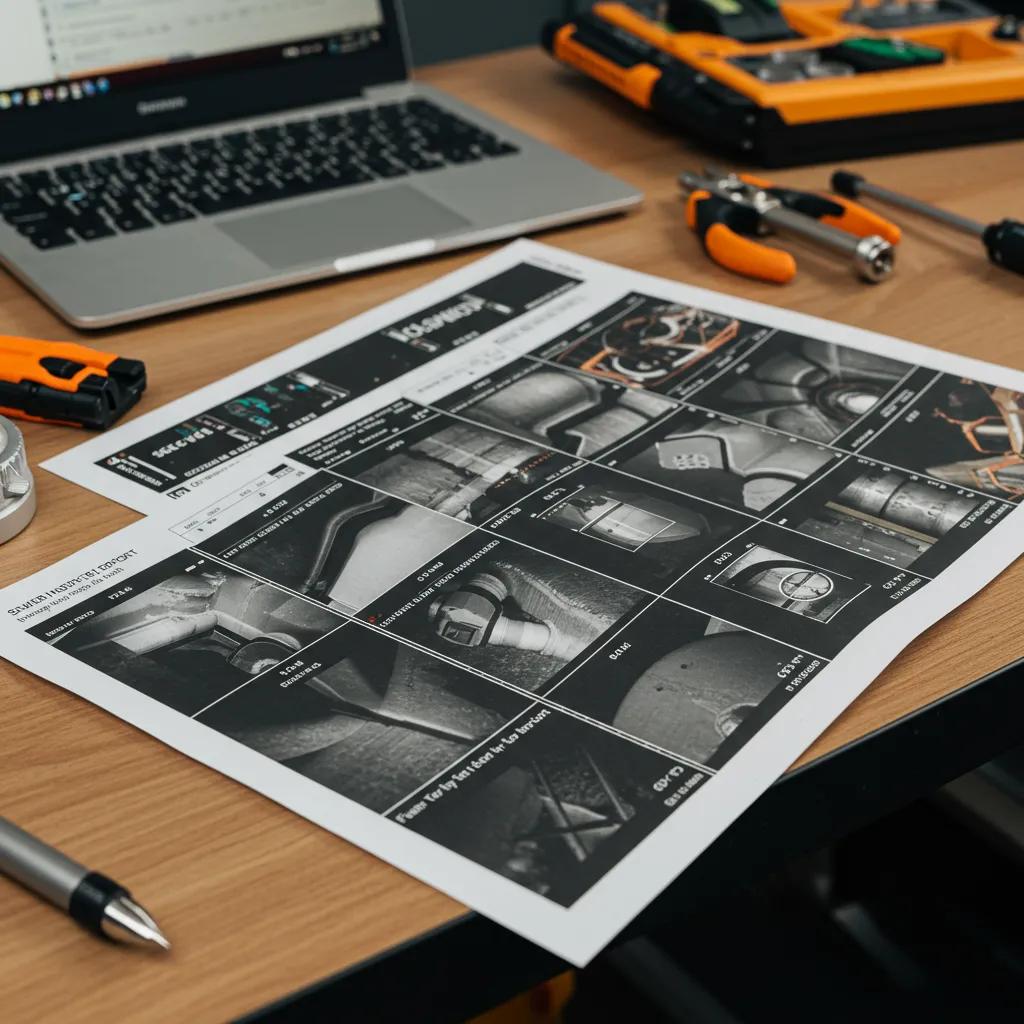
The final inspection report includes an executive summary, the full video file with annotated stills, distance/location notes, and prioritized repair recommendations with urgency levels. Findings are categorized (e.g., urgent, recommended, monitor) to help homeowners triage spending. Reports also suggest next steps, such as cleaning, hydro-jetting, pipe lining, or full replacement for structural failure. This documented evidence simplifies obtaining multiple repair quotes, ensuring all contractors bid from consistent information.
What Problems Can a Sewer Camera Inspection Detect and What Are Its Limitations?
A sewer camera inspection visually reveals interior pipe conditions like blockages, root intrusion, cracks, bellies, offsets, and corrosion. It excels at diagnosing visible issues such as foreign objects, grease, and structural discontinuities, providing direct imagery and distance markers. However, limitations include detecting fine hairline fractures, slow external leaks without interior signs, or intermittent problems occurring only under specific flow conditions. If visual inspection is inconclusive, complementary diagnostics like pressure testing, dye testing, or excavation may be needed to confirm the problem’s extent and cause.
The table below clarifies typical detection capabilities and limitations, helping homeowners understand when a camera inspection suffices and when further testing is needed.
Which Sewer Line Issues Are Commonly Identified?
Common defects identified include root intrusion (fibrous masses), fractures or offset joints (seam separation), grease rings (smooth deposits), and bellies (sagging pipe trapping debris). Each has a distinct visual signature: roots resemble tentacle-like growths, grease appears as glistening layers, cracks show as linear separations, and bellies present as a concave bottom with solid accumulation. Recognizing these patterns allows technicians to recommend targeted fixes like hydro-jetting for grease, mechanical cutting for roots, spot lining for localized defects, or replacement for structural failure. Understanding these cues aids homeowners in repair discussions.
What Sewer Problems Can a Camera Inspection Not Detect?
Sewer camera inspections cannot reliably detect slow external leaks that escape into surrounding soil without clear interior marks, nor can they always measure the full structural integrity of joints or bedding beyond visible interior damage. Intermittent blockages or seasonal root infiltration may not appear during a single inspection, potentially requiring time-based testing or re-inspection. Camera views also won’t show external material degradation on pipes like cast iron until it breaches the interior. When visual inspection is ambiguous, technicians recommend complementary diagnostics to confirm the diagnosis.
How Long Does a Sewer Camera Inspection Take and What Factors Affect Duration?
A typical residential sewer camera inspection takes 30 minutes to 2 hours, while complex commercial lines or multi-access mapping can extend longer. Duration is influenced by access difficulty, line length, obstructions, and the need for detailed mapping. Simple inspections with clear cleanouts are quicker, while those requiring toilet flange access, multiple entry points, or pre-cleaning for grease/roots take more time. Technician experience and the need for annotated reports with distance measurements also add to on-site time. The table below compares typical durations and influencing factors.
What Is the Typical Time Range for Sewer Camera Inspections?
Most residential camera inspections for a single lateral from a main cleanout typically range from 30 minutes to two hours. Shorter times occur with immediate access, while debris removal or multiple access points extend the duration. Straightforward residential jobs often take around one hour, but complex jobs requiring post-cleaning re-inspection can double that. Technicians usually factor in extra time for unexpected obstructions, mapping, or client questions. Knowing this range helps you schedule and inquire about potential additional time for cleaning or mapping.
Which Factors Influence the Length of the Inspection?
Factors lengthening inspection time include pipe length/configuration, obstructions (roots, grease) requiring cleaning, limited access points (e.g., toilet removal), and the level of documentation requested (e.g., annotated video report vs. verbal findings). Technician experience and equipment quality also impact speed and thoroughness. To mitigate delays, clear the inspection area in advance, share pipe history, and request a scope of work detailing included services like cleaning or re-inspection. Planning for these variables helps ensure predictable and efficient inspections.
What Are the Costs of a Sewer Camera Inspection and What Influences Pricing?
Sewer camera inspection costs vary widely based on inspection type, report detail, line length, and access complexity. Basic residential inspections are generally affordable, while full-length mains and commercial scopes incur higher fees due to increased labor and equipment. Pricing drivers include travel time, pre-cleaning/hydro-jetting needs, reporting level (raw footage vs. annotated with mapping), and additional diagnostics like pressure testing. The table below compares inspection categories, typical cost ranges, and primary pricing drivers to help homeowners anticipate budget implications.
What Is the Average Cost of a Sewer Camera Inspection?
Average costs for a single-run residential sewer camera inspection typically range from a few hundred dollars, varying by geographic market and deliverables. A basic video pass is at the lower end, while a full annotated report with distance mapping costs more. This range reflects whether cleaning, annotated reports, or sonde mapping are included, as these add value but increase time and labor. Obtain a clear quote specifying inclusions—video, stills, distance marks, and re-inspection after cleaning—to compare offers effectively. Request line-item pricing to weigh detailed documentation benefits against cost.
Which Factors Affect Sewer Camera Inspection Pricing?
Inspection pricing is influenced by travel/labor, equipment needs (e.g., sonde locators), access complexity (e.g., toilet removal), reporting requirements (annotated mapping vs. basic footage), and permits/traffic control for public mains. Additional services like pre-cleaning (hydro-jetting, root cutting) increase initial cost but can prevent repeat visits. Homeowners should request a written scope detailing deliverables and hourly rates for complications to avoid surprises. Transparency on these factors helps make informed choices between basic diagnosis and comprehensive documentation.
What Are the Next Steps After a Sewer Camera Inspection?
After an inspection, homeowners should interpret the report to prioritize repairs, obtain competitive quotes using the video evidence, and select options balancing urgency, invasiveness, and budget. Follow-up choices include cleaning for blockages, trenchless lining for localized defects, or full replacement for structural collapse. Preventive maintenance can be scheduled based on findings to extend pipe life. Using video footage and annotated stills for bids ensures contractors price from identical diagnostic information, reducing scope variance and hidden costs. The following subsections detail report interpretation and common repair/maintenance options.
How Do You Interpret Your Sewer Camera Inspection Report?
To interpret your report, first review the executive summary for urgency categories. Then, watch annotated video clips and compare distance markers to your property sketch to precisely locate issues. Urgent findings, like collapsed sections or large offsets, require immediate attention. Less critical issues, such as grease rings or minor corrosion, may be scheduled for cleaning and monitoring. Use the recorded footage as proof when getting repair quotes, asking contractors about access, trenchless options, and timelines. Clear interpretation helps prioritize actions and budget for the appropriate remedy.
What Repair and Maintenance Options Are Available After Inspection?
Common follow-up services include hydro-jetting for grease/roots, mechanical root cutting, cured-in-place pipe (CIPP) lining for non-invasive structural repair, spot repair for localized damage, and full replacement for severe collapse. Each option has trade-offs: hydro-jetting is fast but doesn’t fix structural issues; CIPP lining is less invasive but has length limits; replacement is costly but necessary for structural renewal. Timelines range from same-day cleaning to weeks for replacement. Preventive maintenance, like periodic inspections and cleanings, reduces long-term costs by catching issues early.
- Immediate action: Address urgent structural failures or active infiltration.
- Near-term repair: Schedule hydro-jetting or spot repairs within weeks for non-structural issues.
- Planned replacement or lining: Coordinate quotes and schedule trenchless or replacement work based on urgency and budget.
These steps help homeowners move from diagnosis to remediation efficiently, using video evidence to secure accurate quotes and schedule the most suitable repair method.
Conclusion
Understanding the sewer camera inspection process empowers homeowners to make informed decisions about their plumbing systems. These inspections, utilizing advanced technology, provide clear insights into potential issues, enabling targeted and effective repairs. Proactive steps based on findings can save time and money long-term. Schedule your sewer camera inspection today to ensure optimal plumbing condition.